Imagine the aroma of freshly baked bread or sizzling pizza wafting from your very own wood-fired micro oven. There’s something undeniably magical about cooking with fire—it connects you to tradition while delivering flavors that modern appliances just can’t replicate. And the best part? You don’t need a sprawling backyard or a hefty budget to make this dream a reality.
Building your own wood-fired micro oven isn’t just a rewarding DIY project—it’s a game-changer for your outdoor cooking experience. Whether you’re a seasoned craftsman or a curious beginner, this compact oven will transform the way you cook and entertain. With a little effort and creativity, you’ll have a functional, rustic masterpiece that’s as practical as it is charming.
Ready to roll up your sleeves and create something extraordinary? Let’s jump into the process and bring your culinary vision to life.
Benefits Of Building A Wood-Fired Micro Oven

You gain a unique cooking experience that enhances the flavor of your meals. Wood fired ovens cook food evenly by creating a consistent high temperature, ideal for pizzas, bread, and roasted dishes. This type of cooking produces smoky, earthy flavors not achieved with conventional ovens.
Your outdoor gatherings become more captivating and interactive with a wood fired micro oven. Guests can participate in the cooking process, adding a sense of fun and collaboration. This setup fosters a communal atmosphere for family and friends.
Energy independence is another benefit of building this compact oven. It operates without electricity or gas, using only wood as fuel, which lowers energy costs. This makes it an environmentally friendly choice while promoting self-sufficiency.
The compact design blends functionality with convenience for small spaces. These ovens require minimal construction space and materials, suiting backyards, patios, and even tiny homes. Their size ensures easy construction and maintenance, making them practical for many settings.
Durability stands out when using the right materials. Materials like firebricks and refractory mortar withstand high temperatures and frequent use, ensuring a long-lasting build. This aspect reduces repair costs and extends the oven’s usability over years.
Essential Materials And Tools

Building a wood fired micro oven requires exact materials and tools to ensure durability, efficiency, and ease of construction. Each item plays a critical role in the oven’s performance and overall longevity.
Selecting The Right Materials
Start with high-density firebricks, as these resist high temperatures and provide thermal retention. Refractory mortar effectively binds the bricks together, ensuring a robust and heat-resistant structure. Opt for insulation materials such as ceramic fiber boards or blankets to maintain internal heat and reduce heat loss. Use concrete blocks or a steel foundation to provide stability and structural support for the oven. For outer layers, choose heat-resistant plaster or stucco to enhance aesthetics while withstanding extreme conditions.
Also, acquire a metal or clay chimney pipe to guide smoke away, maintaining proper ventilation. Sand and gravel create a solid base if you’re constructing on uneven ground. Purchase untreated hardwood for fueling the oven since it burns cleaner and generates consistent heat. Quality materials reduce maintenance costs and extend the oven’s lifespan.
Gathering Necessary Tools
A reliable trowel is essential for evenly spreading mortar between firebricks. For precision cutting, use a masonry saw or an angle grinder fitted with a diamond blade. Measuring tape ensures all dimensions align with the intended design. Leveling tools like a spirit level maintain evenness during construction. Safety gear, including gloves and safety glasses, protects you from debris and sharp edges.
A mixing paddle simplifies the preparation of refractory mortar, ensuring proper consistency. Wheelbarrows help transport sand, gravel, and other heavy materials without strain. Clamps or temporary wooden supports stabilize the structure while the mortar sets. Finally, ensure easy access to a shovel for preparing the foundation. Reliable tools make the entire building process efficient and stress-free.
Step-By-Step Guide To Building A Wood-Fired Micro Oven

Creating a wood fired micro oven requires careful planning and precise construction. Each step plays a crucial role in ensuring efficiency and durability while improving your outdoor cooking experience.
Preparing The Foundation
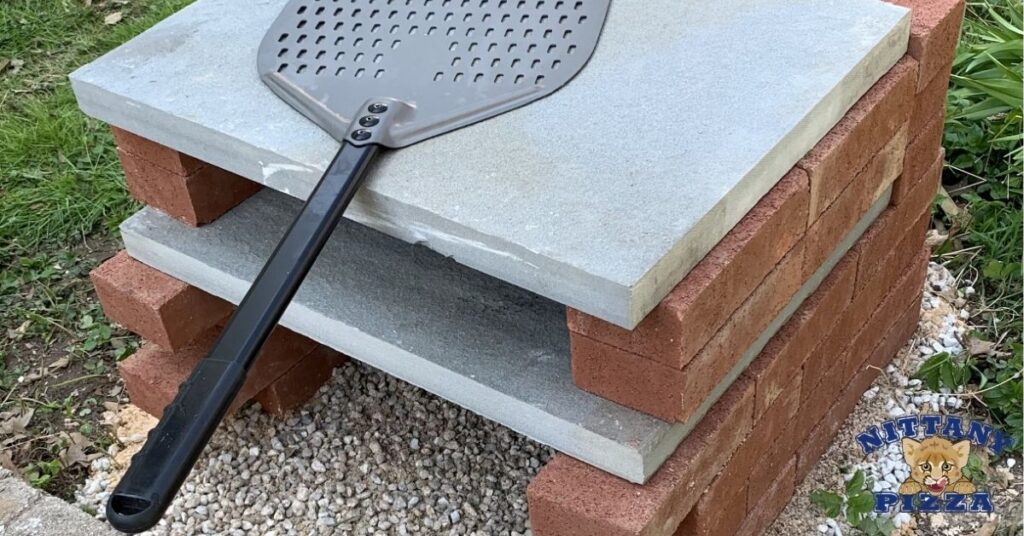
Start by selecting a stable, level outdoor space for the foundation. Clear vegetation and debris from the chosen location to provide a clean working area. Use concrete or cement blocks to construct a robust foundation that can support the oven’s weight over time. A level surface is essential, so verify alignment with a spirit level during construction.
Constructing The Oven Base
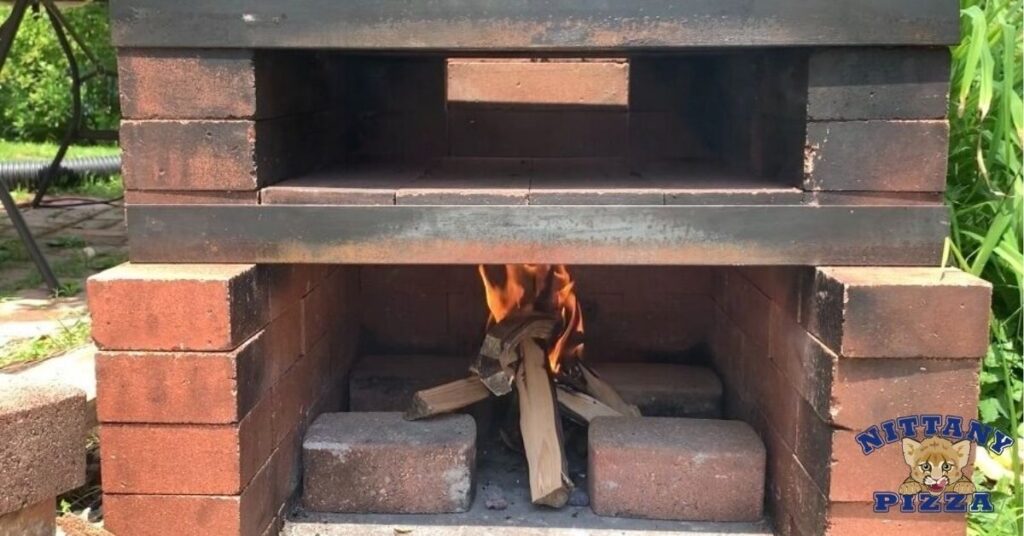
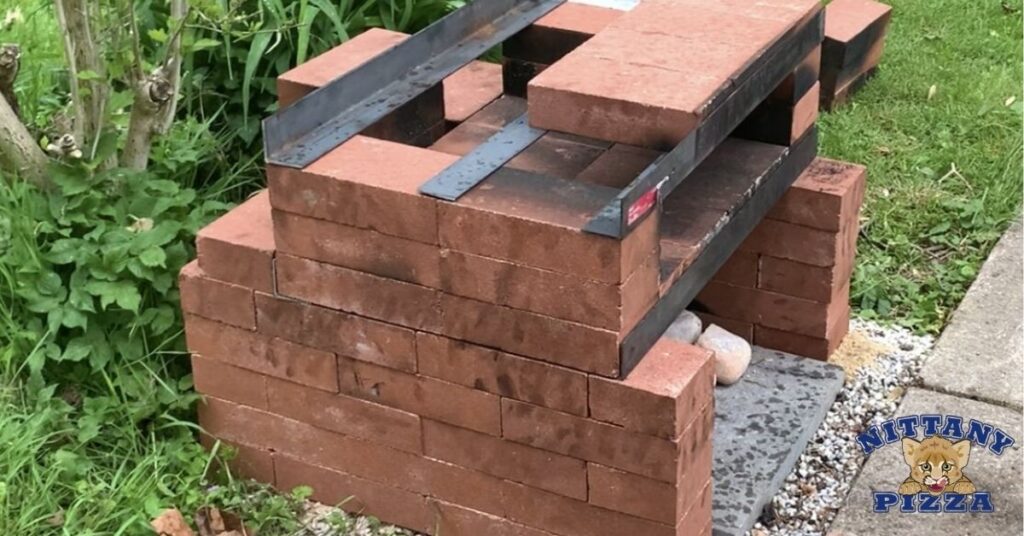
Build a base using fire-resistant materials for safety and longevity. Lay firebricks across the foundation to create a stable platform, using heat-resistant mortar to bind them securely. Arrange the bricks tightly to prevent gaps, ensuring heat retention. If you’d prefer added storage, design a hollow base with a compartment for wood storage beneath the cooking surface.
Building The Dome And Chimney
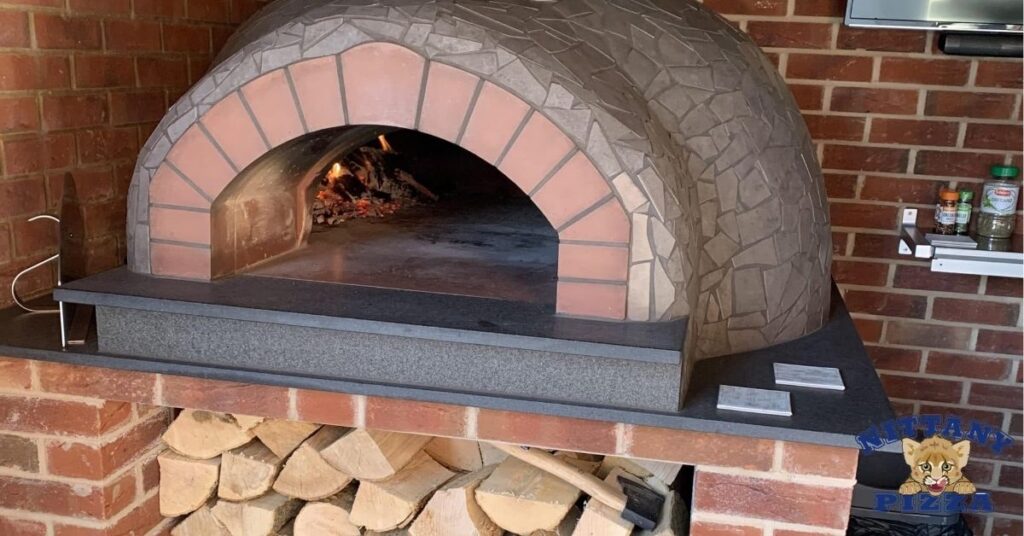
Shape the oven dome using high-density firebricks for excellent thermal efficiency. Arrange the bricks in an arch, starting from the base and working upward, applying refractory mortar to seal each joint. Create a small opening in the dome’s upper section for the chimney, which ensures proper ventilation and maintains consistent temperatures within the oven. Secure the chimney with fire-safe mortar for stability and functionality.
Adding Insulation And Finishing Touches
Apply insulation materials, such as ceramic fiber blankets or vermiculite, around the dome to trap heat and enhance energy efficiency. Cover the insulation with an outer layer of stucco or clay for added durability and aesthetic appeal. Add decorative elements, like tiles or paint, to match your style while ensuring heat resistance. Allow ample drying time before using the oven to ensure all materials set properly.
Tips For Optimal Performance

Maximizing the efficiency of your wood-fired micro oven requires ongoing care and thoughtful adjustments. With proper maintenance and issue management, you ensure consistent results and long-term reliability.
Maintaining Your Wood Fired Micro Oven
Clean the oven thoroughly after every use. Remove ash residue and leftover wood to prevent blockages in the airflow. Use a metal scraper or brush to handle debris in the firebox or dome.
Inspect the structure of your oven regularly. Look for cracks, gaps, or signs of wear in the firebricks and mortar. Prompt repairs keep heat retention optimal, improving overall performance.
Seasoning your oven enhances heat efficiency. Light small fires for a few hours on initial uses to gradually cure the mortar and materials. Avoid large flames which can cause structural damage when the oven is new.
Use quality wood for consistent cooking temperatures. Hardwoods such as oak or hickory burn hotter and cleaner than softer woods. Avoid treated or painted wood that releases harmful fumes when heated.
Monitor your oven’s heat with an infrared thermometer. Accurate temperature readings help you adjust wood placement or the fire size to maintain steady cooking conditions. This ensures even baking or roasting results.
Troubleshooting Common Issues
If your oven fails to reach high temperatures, clear the chimney of soot and blockages. Restricted airflow can prevent the fire from burning effectively.
Uneven cooking often indicates poor insulation. Check the outer layer for heat loss and add insulation material if needed. This step ensures retained heat for consistent cooking.
Smoke escaping from unusual places signals gaps in your oven’s construction. Seal visible cracks with high-temperature mortar to maintain proper ventilation and heat flow.
In cases of persistent structural damage, replacing compromised components like firebricks might be necessary. Use durable materials to prevent repeated failures and extend your oven’s life span.
Address minimal flame production by evaluating your wood’s dryness. Moisture-laden wood creates weak fires and excessive smoke, reducing oven performance. Stick with seasoned, dry wood for optimal burning.
Conclusion
Building a wood-fired micro oven is more than just a DIY project—it’s a gateway to unforgettable meals and shared moments. By investing your time and creativity, you can create a durable, efficient, and visually appealing addition to your outdoor space.
This compact oven not only enhances your cooking but also fosters a sense of community and sustainability. With proper care and maintenance, it will serve as a reliable centerpiece for countless gatherings and culinary adventures.
Take the first step toward transforming your outdoor cooking experience and enjoy the rewards of your craftsmanship for years to come.
Related Posts:
- Can Pizza Cause Gas? Here’s Why It Happens and How to Prevent It
- Best Containers for Pizza Dough: Keep It Fresh, Flavorful, and Perfectly Risenn“
- How Many Pizza Places Are in NYC? Explore the 1,600+ Pizzerias Across the Five Boroughs
- How to Clean Pizza Steel: Easy Tips to Keep It Rust-Free and Cooking Perfect Pizzas
- How to Use Pizza Steel Like a Pro: Get Crispy Crusts Every Time at Home
- How to Make Authentic Neapolitan Margherita Pizza at Home: Tips, Tools, and Recipe You Need
- Authentic New Haven Apizza Recipe: Make Connecticut’s Iconic Pizza at Home
- Ultimate Pastrami Pizza Recipe: A Bold Twist on Your Favorite Comfort Food
- Pizza Alla Diavola: Spice Up Your Dinner with This Fiery Italian Classic
- Pizza with Turkey Pepperoni: A Healthier, Delicious Twist for Your Next Dinner Night
- How to Make Perfect Rye Pizza Dough for a Nutty, Flavorful Crust
- Why Does Pizza Make Me Thirsty? The Surprising Truth Behind Your Post-Pizza Cravings
- Why Is Pizza So Expensive? Here’s the Truth Behind Rising Pizza Prices in the US
- Step-by-Step Guide to Building a Wood-Fired Micro Oven for Perfect Outdoor Cooking
